Introduction:
The engine oil in your vehicle plays a crucial role in ensuring its smooth operation and longevity. Regularly checking the engine oil level is a simple yet vital maintenance task that can prevent serious engine damage and extend the life of your vehicle. In this blog post, we will delve into the reasons behind checking engine oil, the ideal frequency for these checks, and the step-by-step process to ensure you’re doing it right.
Why Check Engine Oil?
Engine oil serves several critical functions in a vehicle, including lubricating moving parts, reducing friction, cooling the engine, and cleaning internal components. Over time, engine oil can degrade due to high temperatures, contaminants, and normal wear and tear. Regularly checking the engine oil level allows you to monitor its condition and ensure that there is an adequate amount to keep the engine running smoothly.
How Often Should You Check?
The frequency of engine oil checks depends on various factors, including your vehicle’s make and model, driving conditions, and the age of the engine. However, a general guideline is to check the engine oil at least once a month or every 1,000 miles. If you frequently engage in short trips, towing, or driving in extreme temperatures, more frequent checks may be necessary.
Step-by-Step Guide to Checking Engine Oil:
Park on a Level Surface:
Ensure your vehicle is parked on a level surface and turn off the engine. This allows the oil to settle in the oil pan, providing a more accurate reading.
Wait for the Engine to Cool:
It’s essential to check the engine oil when it’s cool to get an accurate reading. Waiting a few minutes after turning off the engine allows the oil to drain back into the pan.
Locate the Dipstick:
Open the vehicle’s hood and locate the engine oil dipstick. It is usually a bright-colored, looped handle with an oil can icon.
Remove and Wipe the Dipstick:
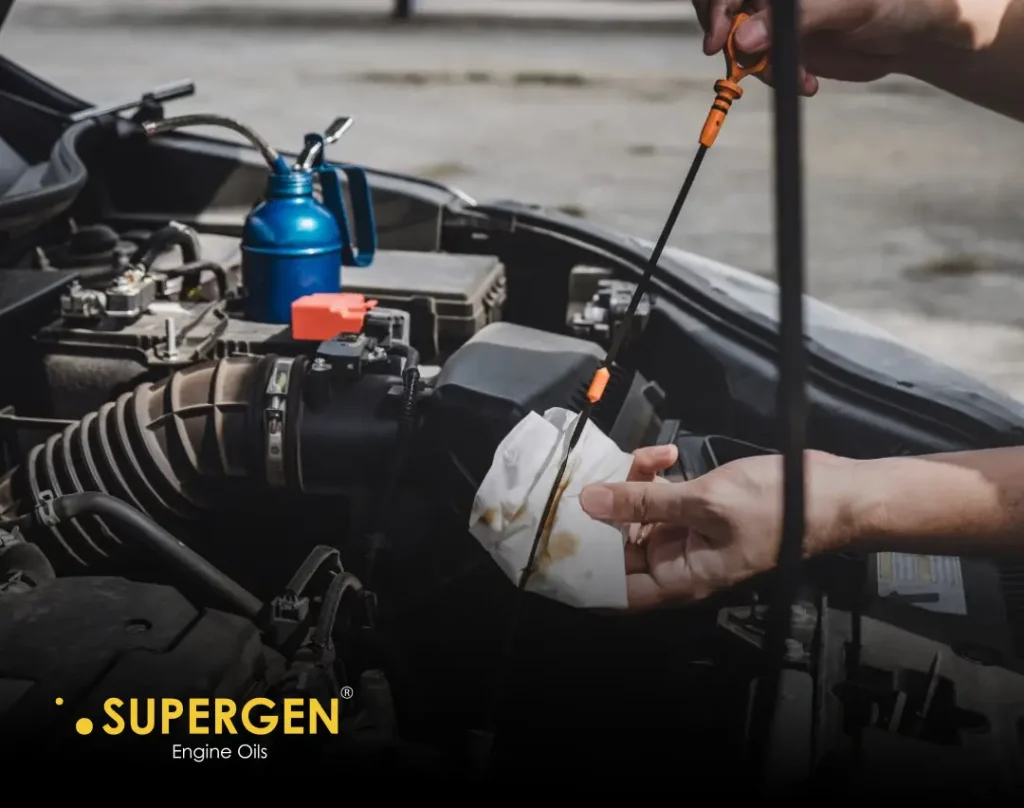
Pull out the dipstick, wipe it clean with a cloth or paper towel, and reinsert it fully.
Withdraw and Check the Oil Level:
Once again, pull out the dipstick and observe the oil level. The dipstick will have markings indicating the minimum and maximum levels. Ensure the oil level is between these markers.
Check the Oil Condition:
Examine the oil’s color and consistency. Healthy oil is typically amber or light brown. Dark, gritty, or milky oil may indicate issues and require further inspection.
Add Oil if Necessary:
If the oil level is below the minimum mark, add the appropriate type and viscosity of engine oil. Refer to your vehicle’s manual for specifications.
Securely Replace the Dipstick:
Once you’ve checked and, if necessary, added oil, securely reinsert the dipstick to its original position.
End Note:
Regularly checking your engine oil is a simple yet effective way to ensure your vehicle’s engine stays in optimal condition. By following these steps and adhering to the recommended frequency, you can catch potential issues early, prevent costly repairs, and contribute to the longevity of your vehicle. Remember, a small investment of time in routine maintenance can lead to significant savings in the long run.


