How to check automatic transmission fluid (8 easy steps)
We have the perfect step by step answer for how to check automatic transmission fluids for everyone.
Transmission oil is a vital component of your vehicle’s transmission system. There are mainly two types of transmission, manual and automatic. The objective of this system in the broader working of a vehicle is to provide the driveshaft and the axle half shafts, the engine power.
Transmission fluids perform effective lubrication of the car’s transmission system. The function of the transmission oils is important with regard to the optimal performance of your vehicle.They are used in both manual or automatic transmissions and they help maintain the temperature by keeping it cool.
It is recommended that you check your automatic transmission fluid check every six months or so. Besides that, your car vehicle manual will also mention how frequently you would require to change it.
Though it is not as often as engine oils and transmission oils tend to last longer than their engine counterparts. Moreover, it is wise to do a check if your transmission fluid is low in level or if you find that your car is facing difficulties during automatic transmission gear shifts.
FAQ about transmisson fluids
Read more about transmission fluids and questions related to it.
Instructions on how to step by step check your vehicle’s transmission Fluid
Step 1:
First and foremost, It is advised to go through your vehicle’s manual to see if there are prior given instructions. Complying with them would be ideal.
Step 2:
Now, you need to park your bike on a level surface. It will help you get an accurate reading of the level of transmission fluids in your vehicle.
Step 3:
Then, you must start your engine with the parking brake on and later put your car in neutral mode and allow the engine to heat up in operation. Do not switch off the engine!
Step 4:
The next thing to do is to locate the transaxle or transmission oil dipstick. You can find it near the back of the in-line engine with rear-wheel drive. It resembles an oil dipstick. Check out the following images for your reference


Step 5:
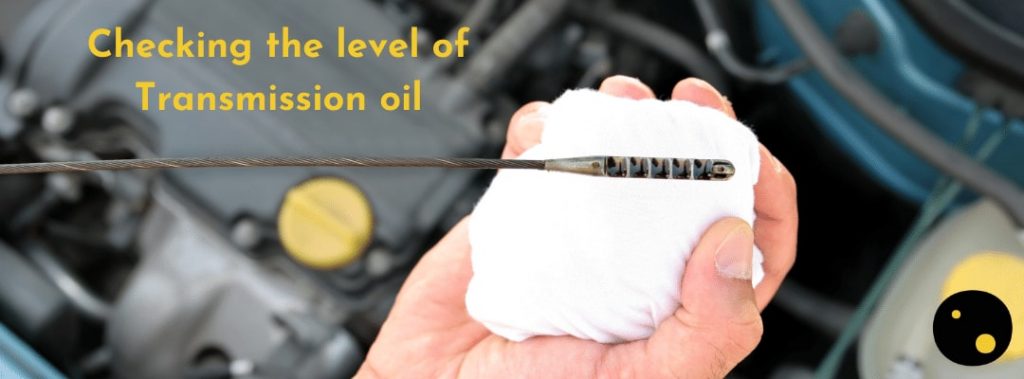
Now, take out the automatic fluid dipstick but be very cautious because this fluid might be hot. Then, you need to wipe the dipstick clean with a rag or a cloth (lint-free). Proceed to put the dipstick fully back again and remove it again. Please take precautions if the fluid is too hot.

Step 6:
To help understand the level of the fluid, there will be two markings at the end of the dipstick. Most probably, it indicates the level ‘full’ – one for warm and one for cold. Once you remove it again and see that the oil level does not reach up to the warm marking, you need to refill the transmission fluid.
Step 7:
Now, you need to keep adding small amounts of transmission fluids as recommended from your owner manual. This is to be done with the help of a long funnel. Continue the same procedure mentioned above in STEP 4. Keep checking the fluid marking on the dipstick till it comes up to the warm line.
Step 8:
Please do not fill it to the top or spill it onto the hot engine surface. Once the level is up to warm, you can put the dipstick back again. That’s it, you are good to go!
Important reminder
One very crucial thing to remember is to use and fill your automatic transmission fluid with the one mentioned in your owner's manual or your dealership. Filling any other fluid than that would result in grave problems.
We have mentioned a referral video for your convenience.
Conclusion
It is always healthy to do a transmission fluid check if you feel your vehicle is demanding it or if the time interval to an oil change is up. Ensuring good maintenance of your car will assuredly give you better performance and an equally good driving experience.

